|
by Amanda Anderson
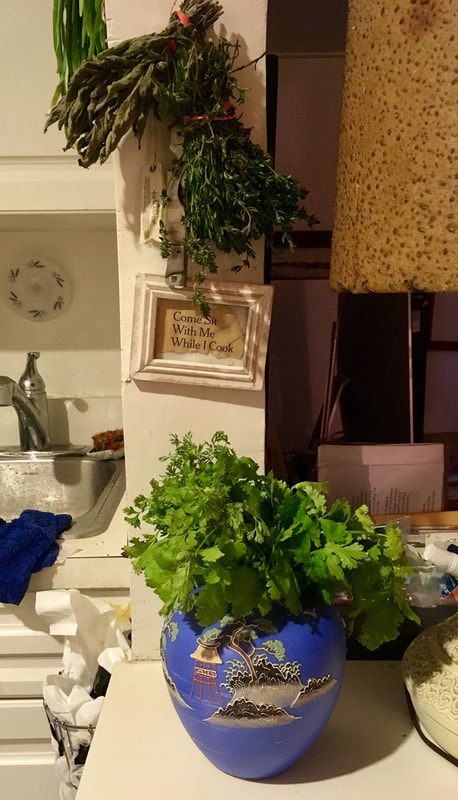
Here are a few of my pointers on how to make your herb arrangements last:
Martha Stewart has been praising herb bouquets for years, and I find that they make great displays for dinner parties and day to day beautification. Also, if mine are displayed attractively on the kitchen counter, I’m more apt to use them here and there as opposed to when I throw them in a bag in the corner of the fridge. No need to limit yourselves to herbs, either; I find some of the lettuce and swiss chard from the CSA so beautiful that I can’t help but mixing them with flowers and herbs for summertime arrangements, too!
0 Comments
7/10/2017 1 Comment First Haul From Sixth Street CSABy Laura Dobbins and Anna Curran Wow—look at these amazing vegetables and fruits! This is a six-foot table, and a full share with a fruit share fills it up. 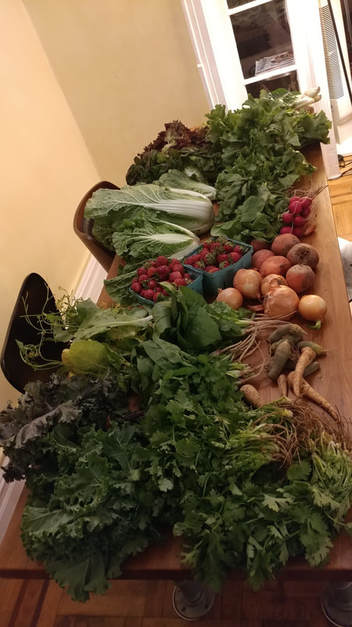 We are getting the hang of how to fully use all these veggies and herbs. I mostly ate salads with radishes and beans every day as a start to get at the mountain. But here are some of the recipes we enjoyed as well.
|
 | 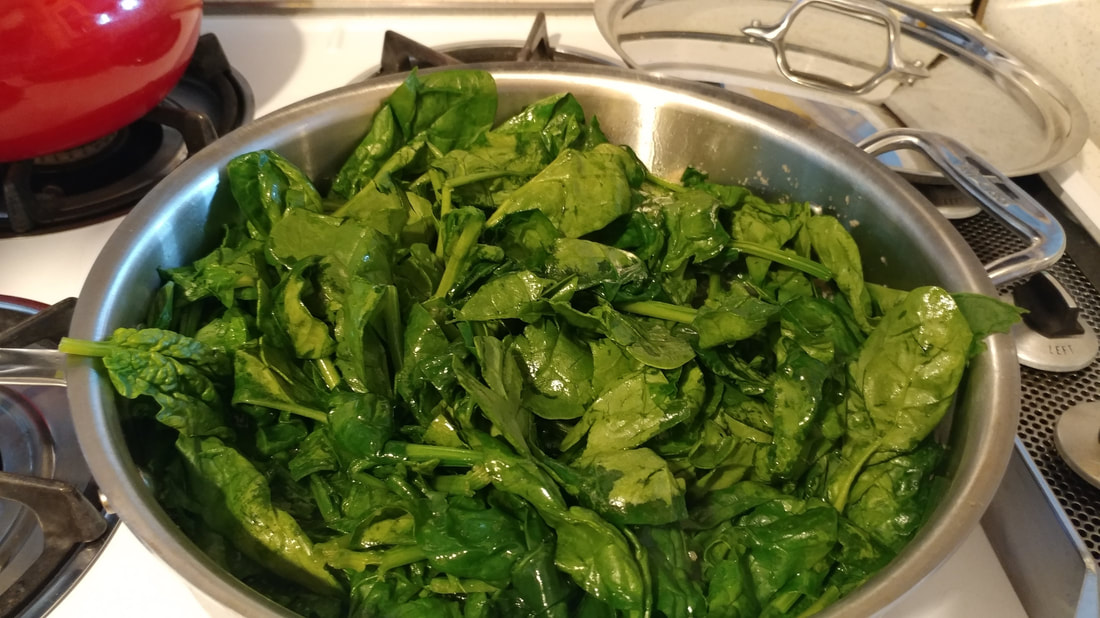 |
This one is pretty basic, but it was a twist on the old standby of kale sautéed in olive oil with garlic. Try it—it’ll give new life to your kale regime!
Radish Green And Mung Bean Soup Recipe
RADISHES!
Anna runs the business CookbookCreate, which allows you to create your own cookbooks. She adapted the recipe below because of all the radishes we are getting—and it is delicious! Plus a great way to use the greens.
Anna runs the business CookbookCreate, which allows you to create your own cookbooks. She adapted the recipe below because of all the radishes we are getting—and it is delicious! Plus a great way to use the greens.
| [from Anna in CookbookCreate] I discovered Jiya Jesh's version of this traditional Indian recipe for Radish Greens Dal or Mullangi Keerai Kootu when I was looking for something make with the beautiful radish greens I got from my CSA. Her version is written for a pressure cooker and requires curry leaves, neither of which I have, so I adapted it. This dish so incredibly satisfying and makes you feel healthier by the biteful. Perhaps it’s all the calcium and vitamin A in the greens, or the anti-inflammatory effects of the turmeric, the lycopene in the tomatoes, or maybe its some other kind of magic that make you feel so good. | 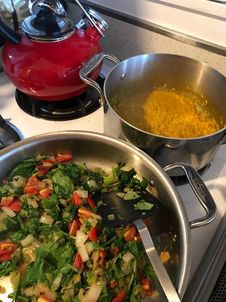 |
 | Ingredients ½ cup mung beans (split yellow lentils) 1 bay leaf ½ tsp turmeric powder 2 cups chopped radish leaves 1 small onion 1 fresh large green chili pepper ½ cup quartered cherry tomatoes 1 tbsp butter or high heat safe oil (not olive oil) 1 tsp black mustard seeds 1 tsp cumin seeds ½ tbsp fresh grated ginger Salt to taste |
Directions
1.
Soak the mung beans overnight. This releases excess ogliosacharides and makes the beans even easier to digest. Mung beans are known for being one of the 3 easiest beans to digest. So we’re off to great start already.
2.
After soaking, strain the beans of excess liquid and rinse until the water runs clear.
3.
Put the soaked beans in beans in a medium covered pot with the turmeric and bay leaf and 1 1/2 cups of water. The beans will need to cook for 20-30 minutes on medium heat. Keep the pot covered so there is enough water for the beans to absorb. The beans are done when they reach their desired consistency. They should no longer be tough to chew, but should be so cooked that the become mushy.
4.
While the beans are cooking, wash the radish leaves thoroughly. Then finely chop the washed leaves and set aside. Finely chop onions, the green chillies and quarter the tomatoes.
5.
When the beans are almost done and need only 5-10 more minutes to cook, you can start a second pan where you’ll cook the veggies.
6.
In a large saute pan (square sided pan) melt the butter over medium heat. Add mustard seeds cook stirring gently. When the mustard seeds crackle, add cumin seeds. When cumin seeds start to pop and slightly change color, add in the chopped onions, grated ginger, and chillies. Saute untill onions turn light brown in color. Then add in the tomatoes and cook until all ingredients in the pan are the same temperature 1-2 minutes. Add the chopped radish leaves and salt. Cover with a lid and cook on medium low flame for 2 minutes until the radish leave wilt.
7.
When the beans are done, remove the bay leaf from the cooked beans and mash slightly. Add the cooked beans along with 1/2 cup water to the saute pan with the vegetable and spice mixture.
8.
Cook on a medium low flame for 4-5 minute or until the gravy reaches desired consistency. Remove from heat. Serve in a bowl, and enjoy this hearty, healthy soup. It makes for great office lunches and freezes well.
Slow Cooker Napa Cabbage Chicken Soup

[From Laura] I don’t much care for cabbage of any sort, but this was a way to make it healthy and tasty. I fed my coworkers too! Plus the leftover freezes well so you have chicken soup for when you feel under the weather.
| Ingredients
| Instructions
|
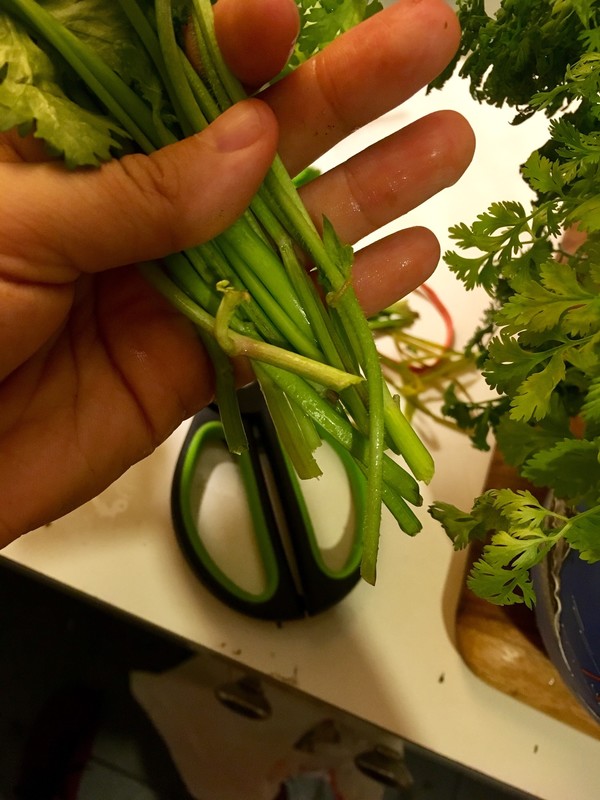
Fabulous Cilantro Pesto
This is great on pasta—you can make pesto out of any green you like the taste of, really—arugula, garlic scapes, I’m thinking about that sage, though that might e a little too strong… Anyway, I will be paring this with pasta and maybe some beans and corn… We’ll see. It’s great plain too—perfect for picnics and summer concerts. I ended up making three tubs of it and froze it all. It’s easy to pull out when you need it.
| Ingredients
| Instructions
|
7/10/2017 1 Comment
Not Sure About Home Juicing your CSA Share? A Member’s Review of a Juicer for Small Spaces & Starting New Habits
By Amanda Anderson
 | My little family is really excited that the summer CSA is back in motion. We’re especially excited because this is the first year in the last four that we’ve been CSA members that we have a juicer. After some thought, my husband and I took the plunge and bought a juicer this winter. We’re not new to drinking fresh juice, but we had never home-juiced before, so we weren’t sure of our motivation or of the ease, especially considering the tiny size of our home. We just knew that we wanted a more cost-efficient way of staying healthy with juice. |
We settled on Breville’s Juice Fountain Compact, picking it right off the shelf at the Union Square Best Buy for just $99. We couldn’t be happier. We juice 1-2 times a week, which we’ve already increased since starting the CSA pickups. This morning, I made a delicious kale, cantaloupe, celery, carrot juice that would have easily set me back at least $15 (for 2) at B&H. Tallying up two large juices twice a week for five months, this little machine has saved us roughly $750! In other words, it has paid for itself 7.5 times already!
If you’re on the fence about home juicing, let me tell you a little bit more about why we like this little machine:
If you’re on the fence about home juicing, let me tell you a little bit more about why we like this little machine:
| It’s easy to clean When I asked a friend with lots of home juicing experience what to look for in a juicer, her first and most adamant suggestion was getting one that we would use, and easily clean. “If you can’t clean it quickly, you won’t use it,” she said, and she was dead-on. The trickiest part to the cleaning is the internal centrifuge filter thing, but the juicer comes with a special brush that makes that pretty easy. What makes it even easier is cleaning it immediately. | 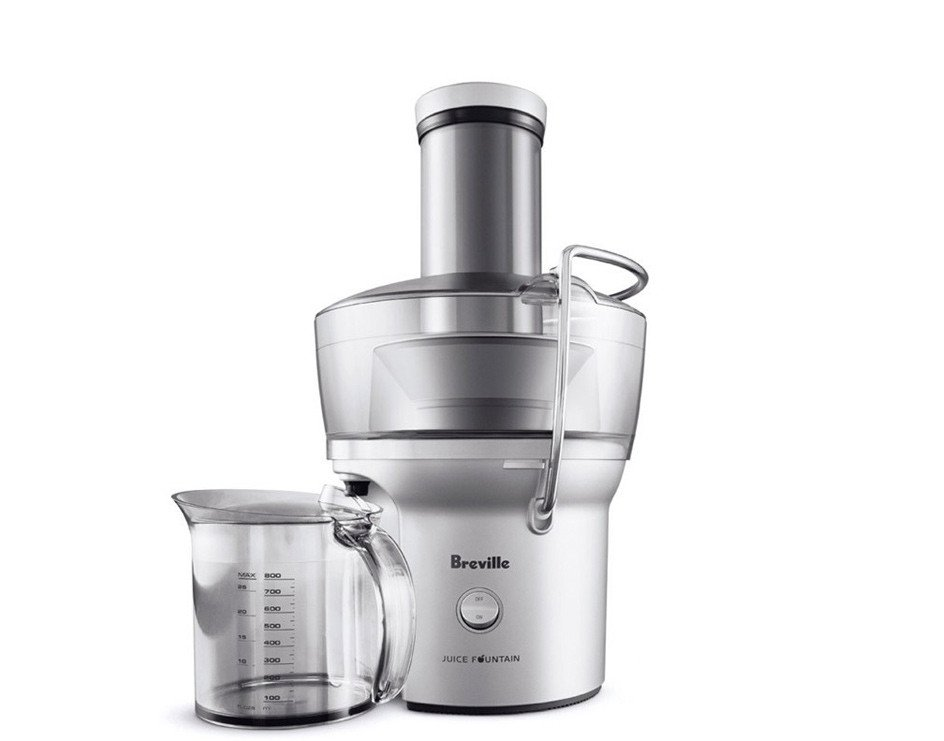 |
It really juices things The leftover pulp is dry and easy to dump into a compost bin. We tried recycling a bit and adding it to our dog’s food, but he wasn’t too keen on it. Another friend makes crackers out of hers - we are waiting for a cool day to try this recipe. The one thing that is a challenge, as is for every centrifugal juicer, is processing greens. We found that the juice is richer when we sandwich the greens inside a handful of other hard fruits or vegetables like celery or carrots.
| It takes up very little space Life in the East Village is great, but our apartment is wee little. This juicer takes up about a foot of counter space, and fits easily on a little shelf. One word of caution: the container that holds the juice comes with a lid that keeps the spray contained while juicing. Don’t make the mistake we did on our first pour - take off the lid before you pour! It sprung off mid-pour and caused a big mess. Other than that, the machine contains its spray very well. It’s pretty quiet & very quick Our dog Jeff doesn’t even move from his perch on the couch when we turn it on, and Afonso can sleep through it completely when I juice before work in the morning. The whole process from prepping fruits and vegetables to cleaning takes less than 15 minutes - the same time it would take to walk to, stand in line and pay for juice at a bar. It forces us to be healthy The weeks that we juice every morning we both agree that we feel better and more productive. With the bounty of CSA produce, I hope we’ll increase our use of this machine enough to test out the warranty that came with it! From cost-savings, to knowing the exact quality of product being juiced, to the intentionality it takes to prep and juice our share, health benefits abound! | 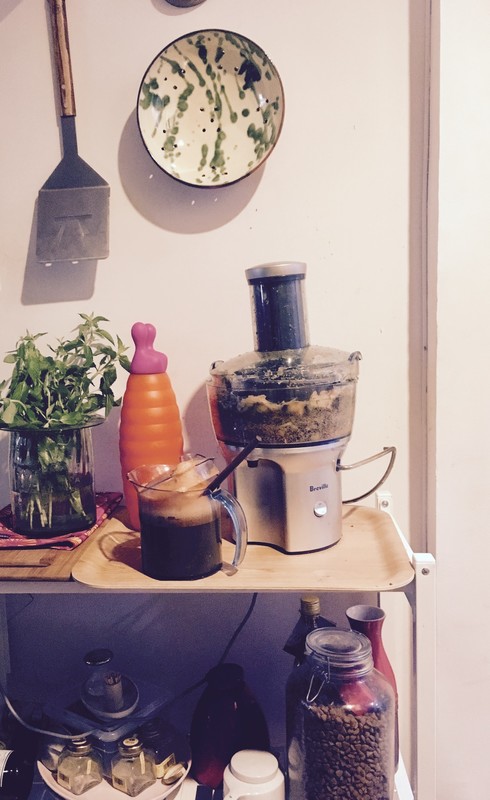 |
CSA Newsletter
Food news, CSA news, recipes, and lots of other goodies!
Archives
October 2017
September 2017
August 2017
July 2017
May 2017
January 2017
November 2016
October 2016
September 2016
August 2016
July 2016
September 2015
August 2015
July 2015
September 2014
August 2014
July 2014
June 2014
April 2014
 RSS Feed